With Mixtable, you can efficiently manage your Shopify Multi-Location Inventory, making bulk inventory updates seamless. In this guide, we’ll walk you through the steps to update Shopify product inventory quantities in bulk across multiple locations, ensuring that your inventory management is both effective and time-saving.
Follow these steps to map your current inventory locations to columns in Mixtable. This will show any existing available inventory at these locations, and allow you to modify the inventory.
If you haven’t added a Products (with variants) worksheet to Mixtable, begin by doing so. Here you can check how to add a new worksheet.
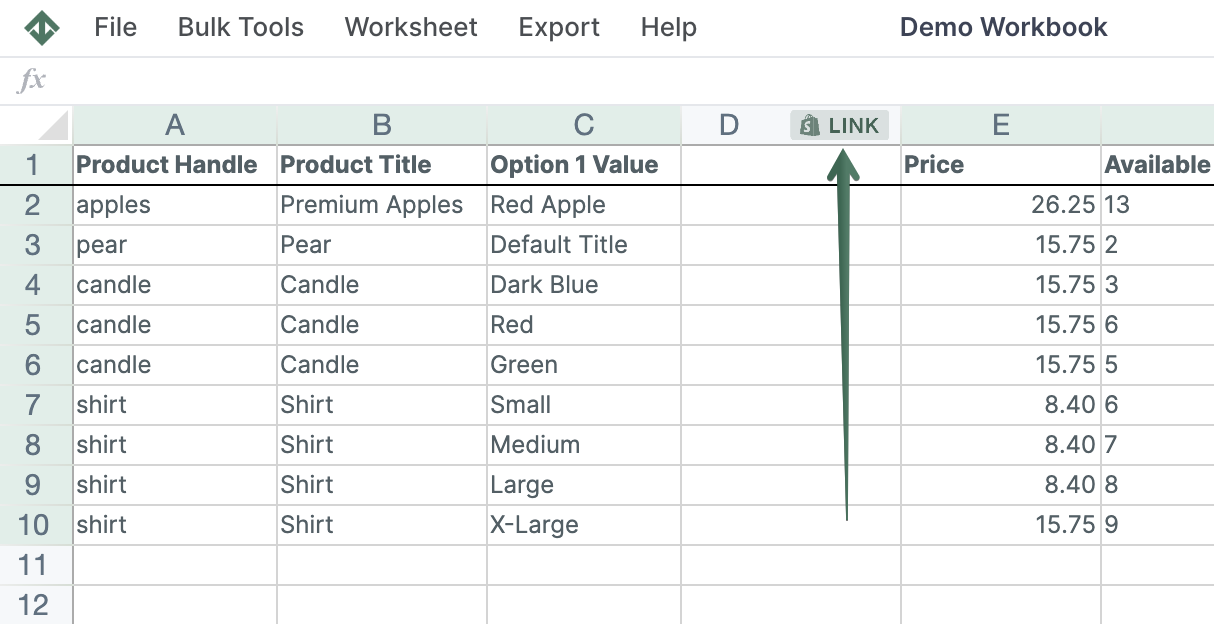
Configure an inventory column for each inventory location you want to edit. Identify a column that is currently empty. \
To load new Shopify data, start by selecting an empty column — any column with a non-green header (green headers mean the column is already linked to Shopify data). Then, click the ⚡️ button in the column header to open the selection window to choose the data you want to pull in.

In the Shopify Sync Settings interface that opens, select the Inventory radio button and select the location you want to map. Select the Available inventory from the second dropdown. Click Save. This will map the column, and Mixtable will populate it with the quantity of “Available” inventory in Shopify.
Repeat the same process for each location whose inventory you want to manage.
Once you have columns mapped for each location where you would like to set inventory, find the cell that shows the inventory of a particular variant at a particular location. All you need to do is change the value of the cell and click the Sync worksheet changes to Shopify button. Mixtable will now set the available inventory for that variant at the given location to the value you’ve input into the cell.
To modify the values of many cells in bulk or to change the inventory of one or more variants at one or more locations, you can use all the spreadsheet tools that Mixtable provides. You can manually change each cell, you can copy and paste, you can click and drag, or you can use the Bulk edit numbers feature.
You're ready!
Mixtable is an online spreadsheet designed to sync data with Shopify. It looks, feels, and behaves like Excel (including formulas), but runs in your browser. With Mixtable you can:
Best of all, you can sync changes back to Shopify with a single click. Find out more about the Mixtable suite of products here.