Mixtable is an online spreadsheet, designed from the ground up to bulk edit and analyze Shopify data.
Got a question? We're here to help! Reach out at [email protected], and we'll get back
to you promptly.
Mixtable’s spreadsheet interface makes it easy to add images to your products, edit existing images, and remove images that are no longer needed. You can do this via the spreadsheet cells themselves or by using the Shopify sidebar.
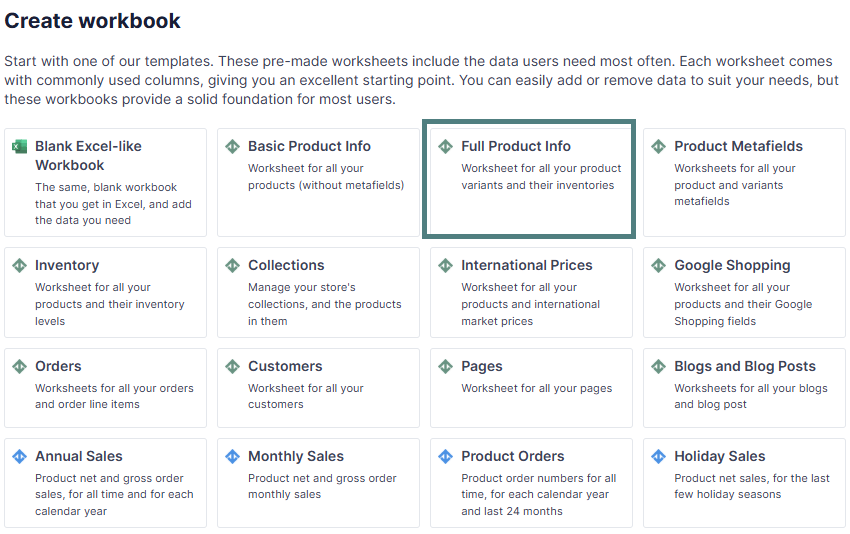
Ensure that you have a worksheet mapped to sync with the products of your Shopify store. You can do that by loading the pre-built Basic Product Info or Full Product Info workbooks or by adding а Products - Complete (with Variants) worksheet (see how here).
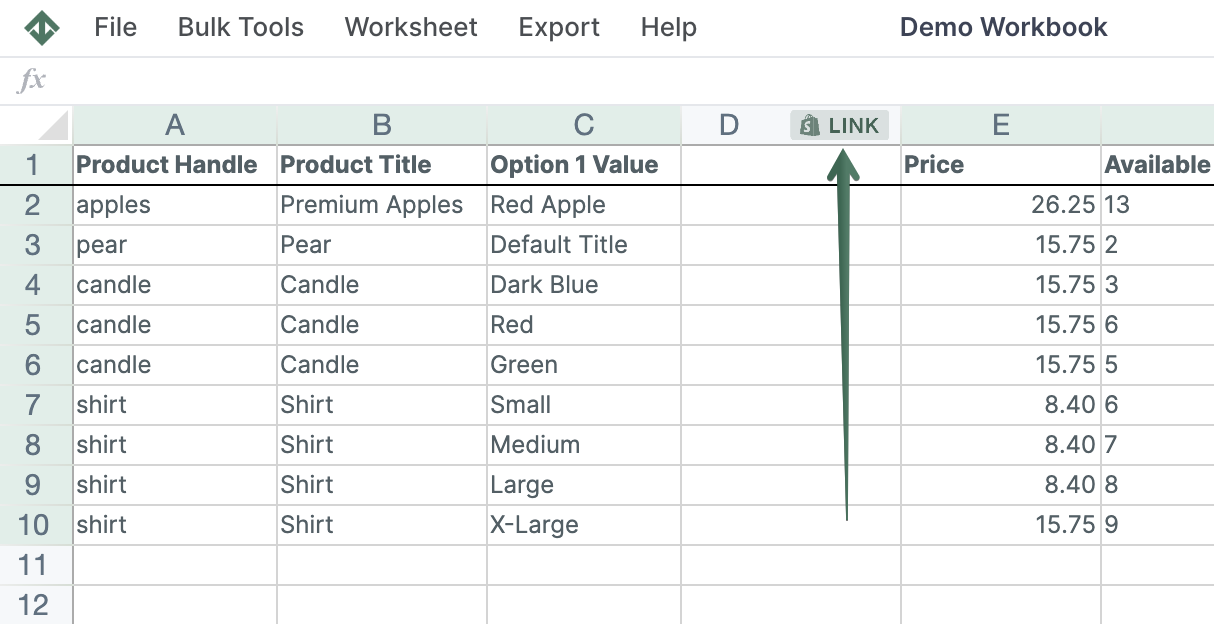
If there isn’t one already, we must map a column to hold the product images. Right-click on the header of a column that is not yet mapped to sync to a field. Such columns have a grey background, whereas columns that are set up for data syncing have a light green background. When you right-click, a context menu will show up. Select the Shopify Sync Settings option.
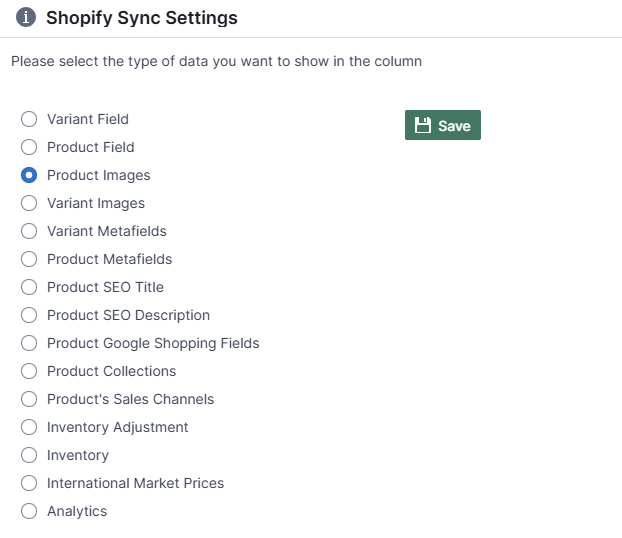
In the window that opens, select Product Images. Click the Save button to save the new column mapping.
The new column will start populating almost immediately with thumbnails of any images currently available for each product.
Now that our images are synced to a column, we can add new ones. Each cell in the column mapped to your product images will have a button with a + symbol. Clicking this button will present you with the Add Image widget.

The Add Image widget allows you to add images by entering URLs that point to images on the internet. To add images from URLs, paste the URLs separated by a comma and press Enter. Mixtable will take the URLs and immediately send them to Shopify.
If you click on one of the thumbnail images in a cell showing a product’s images, you’ll open the Image Editor widget. Clicking on the Delete Image button here will remove this image from your product in Shopify.
Updating or adding images to products in Shopify can be done efficiently through the Products—Complete (with Variants) worksheet in Mixtable and the Media Images sheet. Follow this guide to streamline your workflow and enhance the visual appeal of your products.
1. Access/Add a Products - Complete (with Variants) Worksheet
Navigate to the Products - Complete (with Variants) worksheet, where you manage your product data. This is where you’ll perform the updates/additions to your product images.
2. Choose an Image Column
Identify the column in which you want to add or update product images. Right-click on the selected column to reveal a context menu and click on Shopify Sync Settings. In the context menu, locate and click “Shopify Sync Settings.” This option opens a submenu with various synchronization settings for Shopify.
3. Add Product Images to a column
In the Shopify Sync Settings submenu, find and click on the Product Images radio button. After selecting the Product Images radio button, save your changes to apply the synchronization settings. This ensures that the chosen column will now be associated with Product images. Save the changes to apply the new column to your worksheet.

4. Editing
After you have the column populated, you can simply edit the images that have already been downloaded from your Shopify store to Mixtable using the Edit button or add new images using the [+] button.
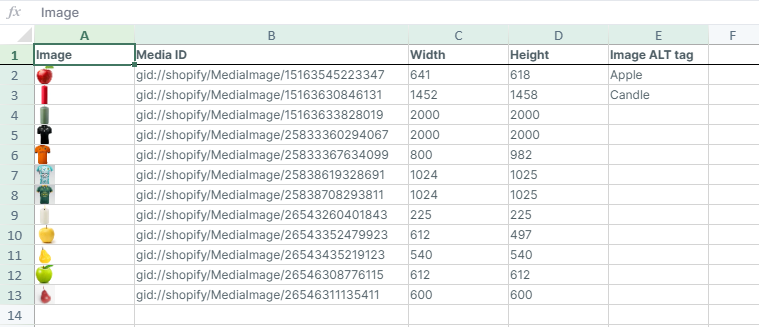
Editing images in Shopify can be done efficiently through the Media Images worksheet in Mixtable. Follow this guide to streamline your workflow and enhance the visual appeal of your products.
1. Load the Media Images Worksheet
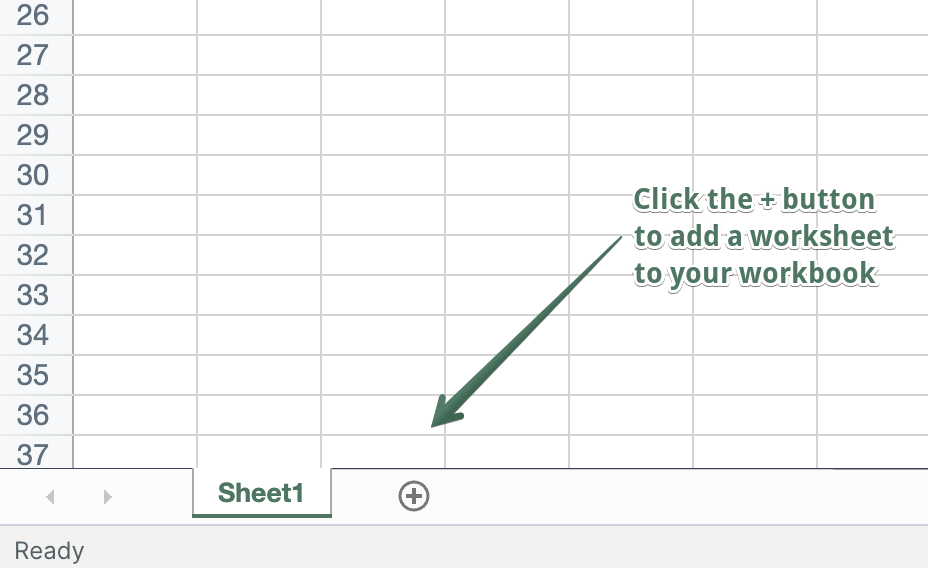
Click the [+] sign to load a new worksheet and add Media Images
2. Add/Edit/Delete Shopify Images
In the Media Images worksheet, you will see all the images available in your store. You can now edit, add, or remove images from here.