Mixtable’s spreadsheet interface makes it very easy to edit your Shopify products’ Google Shopping fields individually or in bulk. This page will walk you through mapping the Google Shopping fields to columns in your workbook so that the Google Shopping fields’ data shows up and then making changes and syncing these changes back to Shopify.
After installing the Mixtable Spreadsheet app, create a workbook and set up a worksheet to sync your Shopify products.
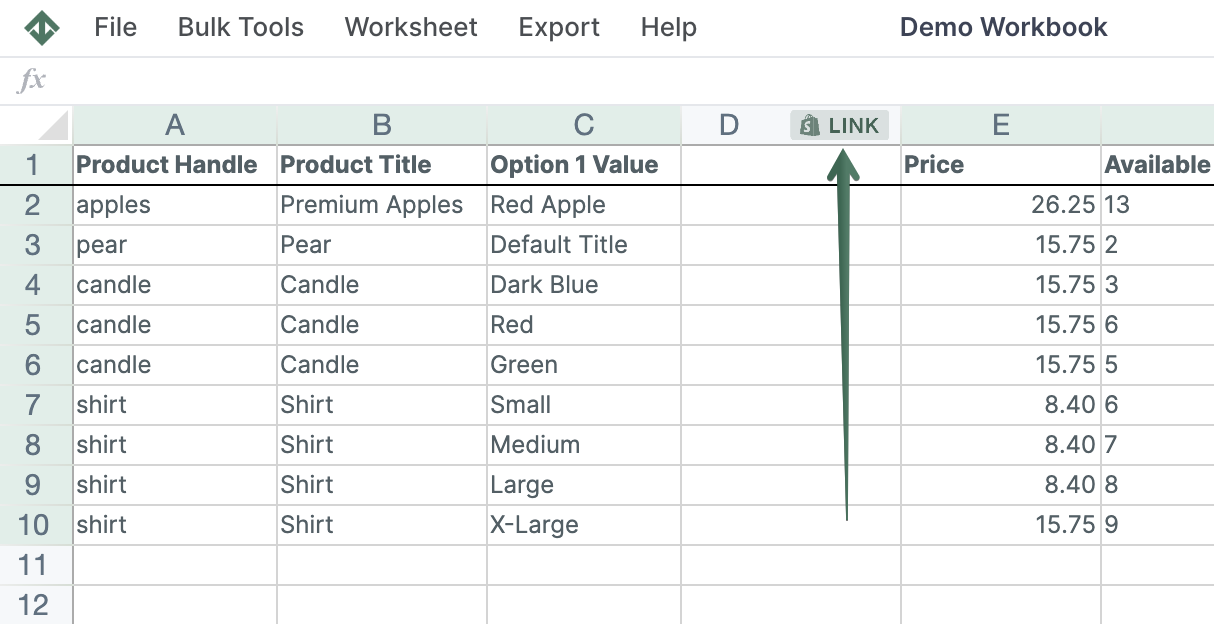
To load new Shopify data, start by selecting an empty column — any column with a non-green header (green headers mean the column is already linked to Shopify data). Then, click the ⚡️ button in the column header to open the selection window to choose the data you want to pull in.

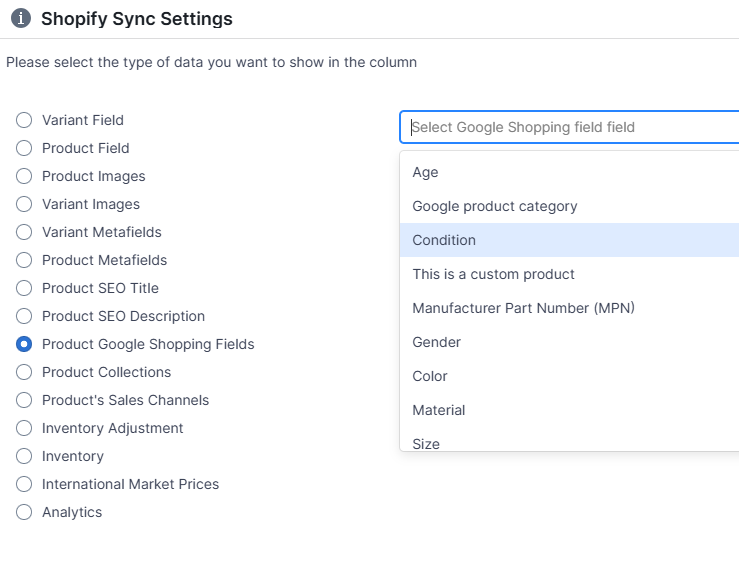
In the window that opens, select the Google Shopping Fields radio button option.
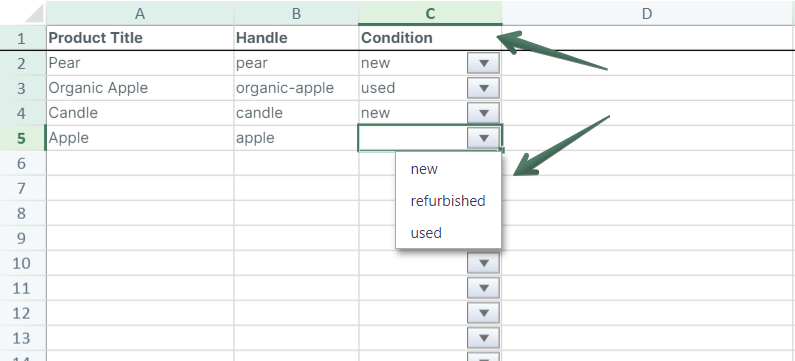
You’ll now be prompted to select which Google Shopping field you’d like to display and edit from the column. Open the dropdown and select your chosen field. Here, we are going to select the Condition field.


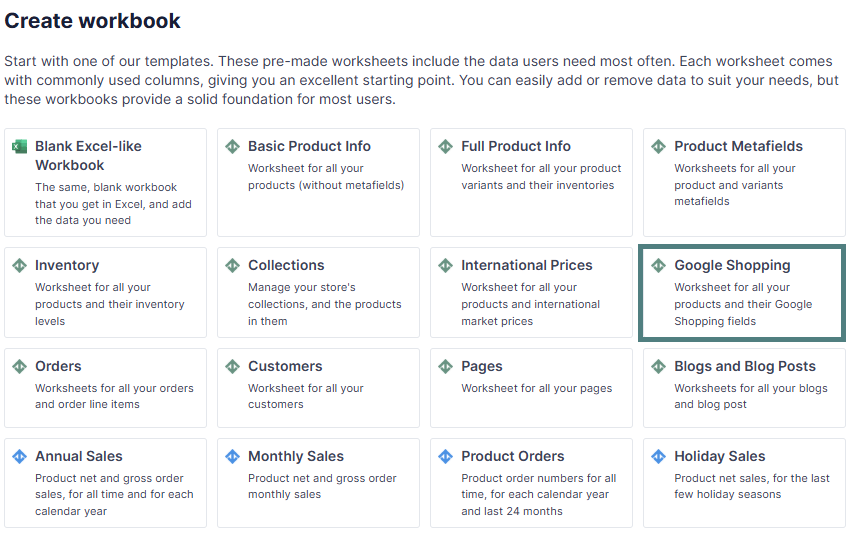
If you start a brand-new worksheet, you can simply load the pre-built Google Shopping template. Here’s how to do it:

You're ready!
Mixtable is an online spreadsheet designed to sync data with Shopify. It looks, feels, and behaves like Excel (including formulas), but runs in your browser. With Mixtable you can:
Best of all, you can sync changes back to Shopify with a single click. Find out more about the Mixtable suite of products here.