Mixtable is an online spreadsheet, designed from the ground up to bulk edit and analyze Shopify data.
Got a question? We're here to help! Reach out at [email protected], and we'll get back
to you promptly.
Mixtable is a robust spreadsheet tool engineered to simplify the management of your Shopify store. While it’s widely used for inventory management and order tracking, it’s also an invaluable resource for managing your Shopify pages. This guide will show you how to set up Mixtable for bulk editing your Shopify pages.
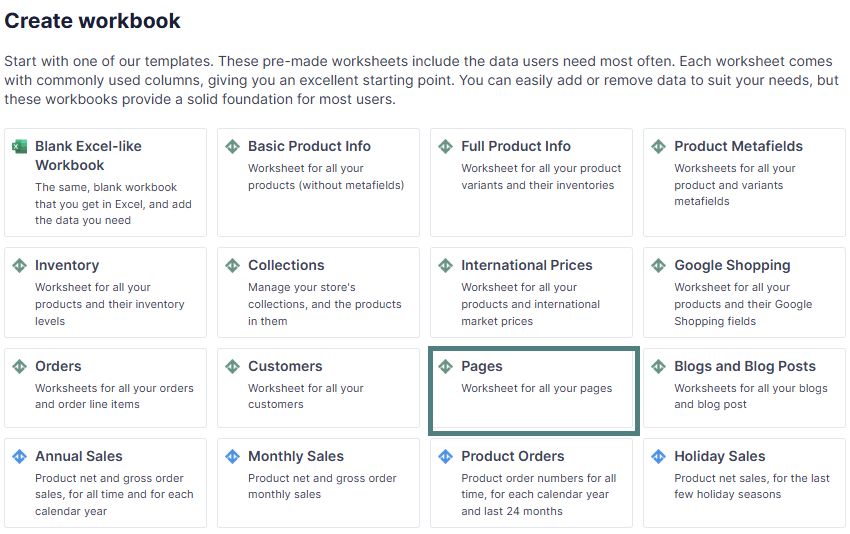
Once you open the Mixtable Spreadsheet app, choose Pages from the Create Workbook section.
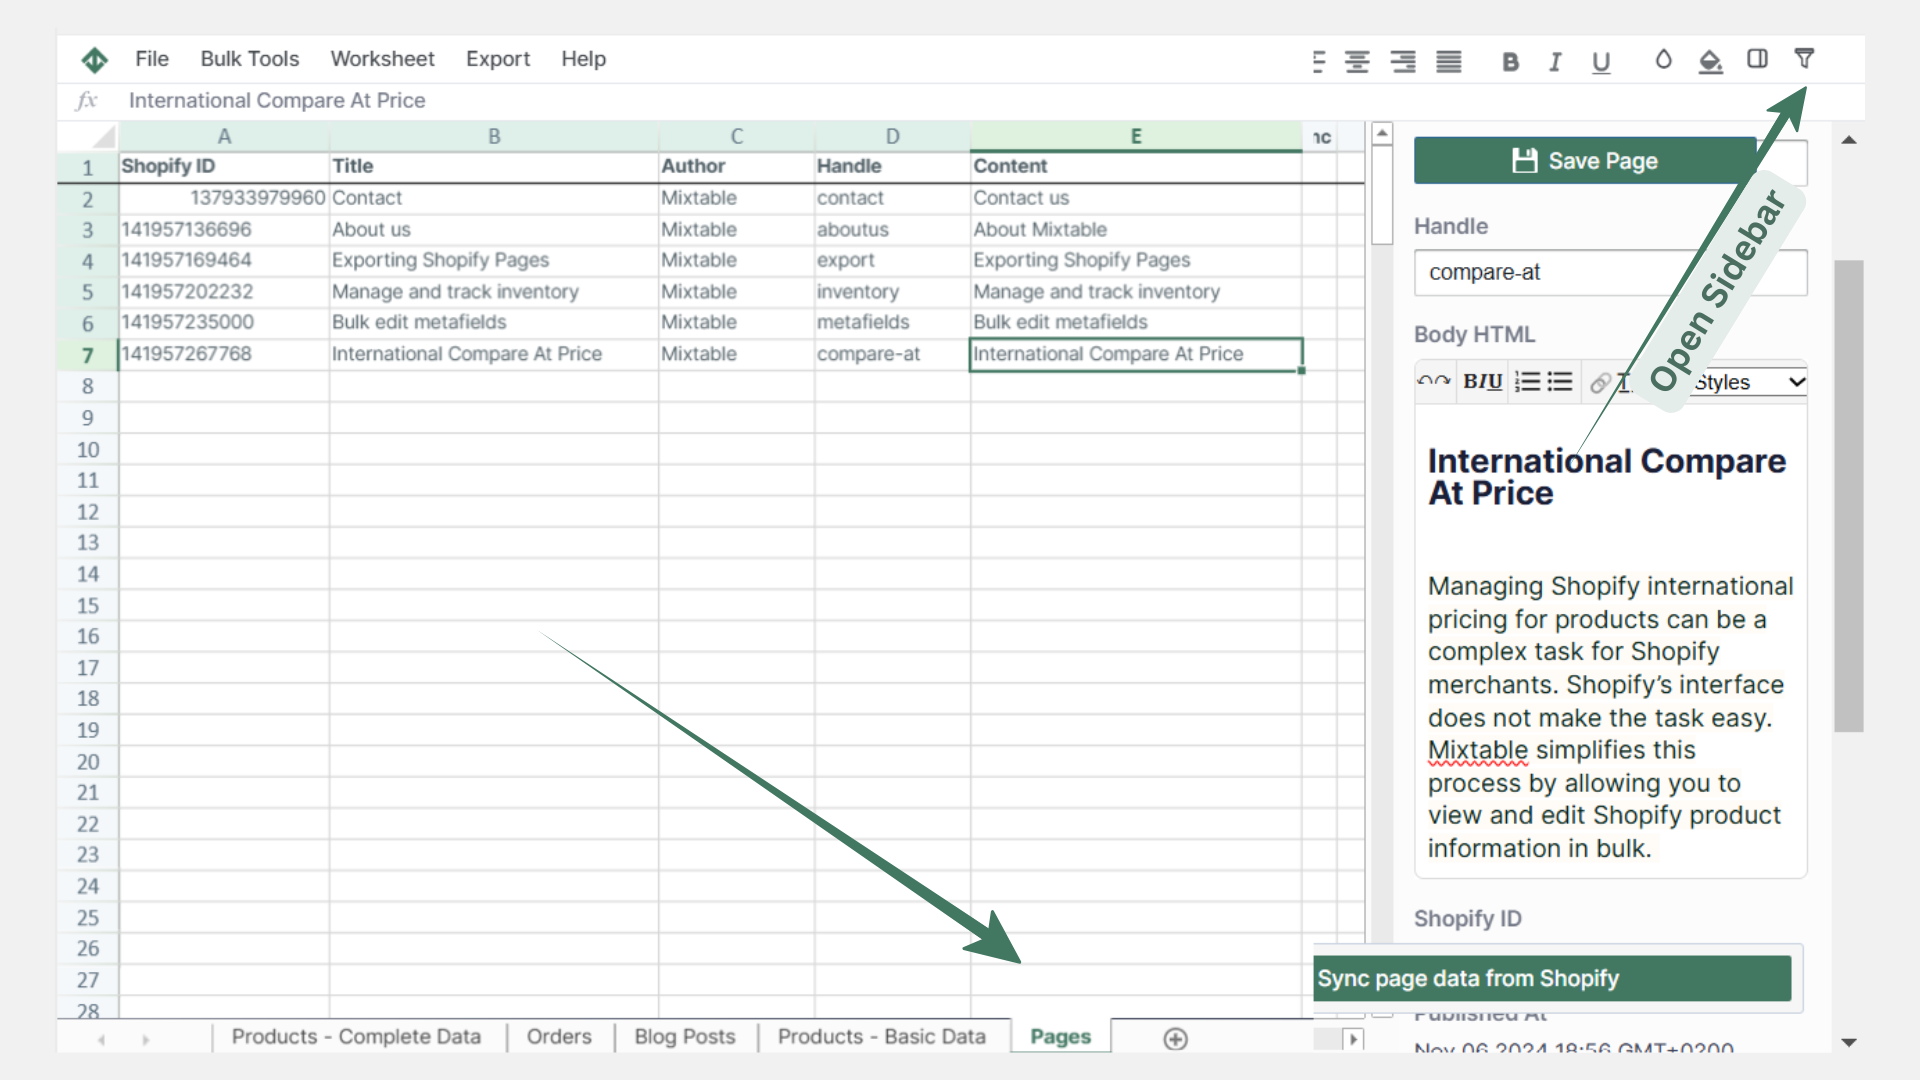
Mixtable will initiate a download of your Shopify pages.
Note: Shopify does not notify Mixtable when pages are created or updated. To sync new or updated pages from Shopify to Mixtable, click the “Sync page data from Shopify” button in your pages worksheet.
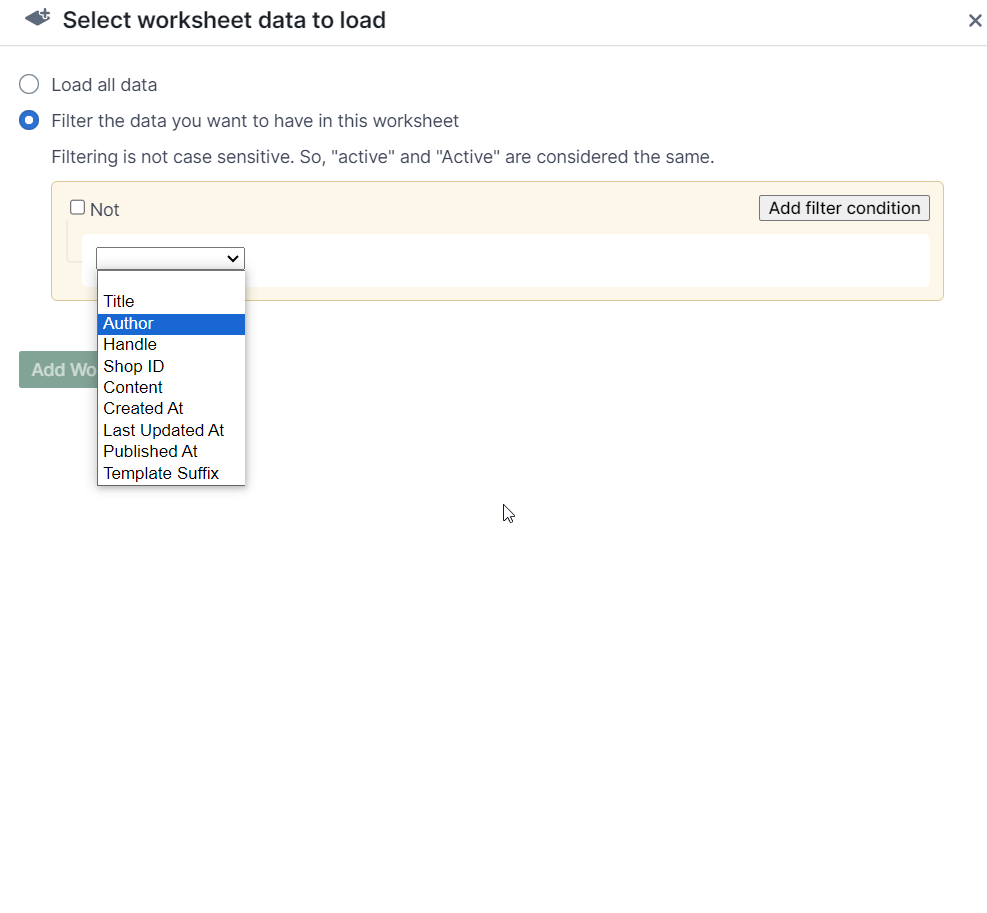
If you wish to edit only specific pages or a range of pages, you can set up a Conditional Worksheet. This feature allows you to specify the criteria for the pages that should be included in the worksheet.
You're ready!
Mixtable is an online spreadsheet designed to sync data with Shopify. It looks, feels, and behaves like Excel (including formulas), but runs in your browser. With Mixtable you can:
Best of all, you can sync changes back to Shopify with a single click. Find out more about the Mixtable suite of products here.